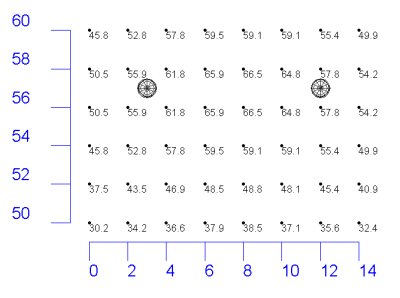
The Axis command allows you to insert orthogonal coordinate axes in Plan (X and Y axes) and Elevation (Z axis) views in Model Mode and Reports. The coordinate axes display the coordinate values chosen. In other words, the Axis command is not a ruler, but a coordinate information display.
- From the Add
menu choose Drawing -Axis, or
from the Drawing/Schedules toolbar select
 .
. - Select the axis type (X, Y, or Z) by clicking on the appropriate radio button.
- Enter the distance (ft., or m) between label increments (hatch marks).
- By default, the label size is based on label increment. This value may be overridden, by entering a label size (ft., or m).
- Click Ok.
- Locate the first endpoint of the axis and click the left mouse button.
- Drag the cursor in the pertinent orthogonal direction, X, Y, or Z, until the second endpoint is reached and left click again.
|
|
|
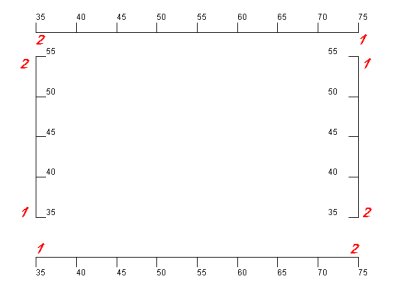
Axis label location relative to Axis specification direction
|